Smoking has been around for centuries and can be traced back to medieval times. But how do you go about cleaning a smoking pipe? There are a few easy methods that will help you clean your smoking pipe with ease and no fuss.
Cleaning a smoking pipe is a delicate and painstaking process, but it is essential to keep it in good condition. Over time, pipe tar and residue builds up on the interior of the pipe and can alter the taste of whatever you smoke. Additionally, tobacco particles as well as resin accumulate, which can cause your pipe to clog and affect its performance. Regular cleaning can help prevent all these problems.
With this guide, you can easily keep your pipes in top condition, so you can enjoy your smoking sessions free from worry and hassle. So, let’s dive right in!
Step One: Gather Necessary Supplies
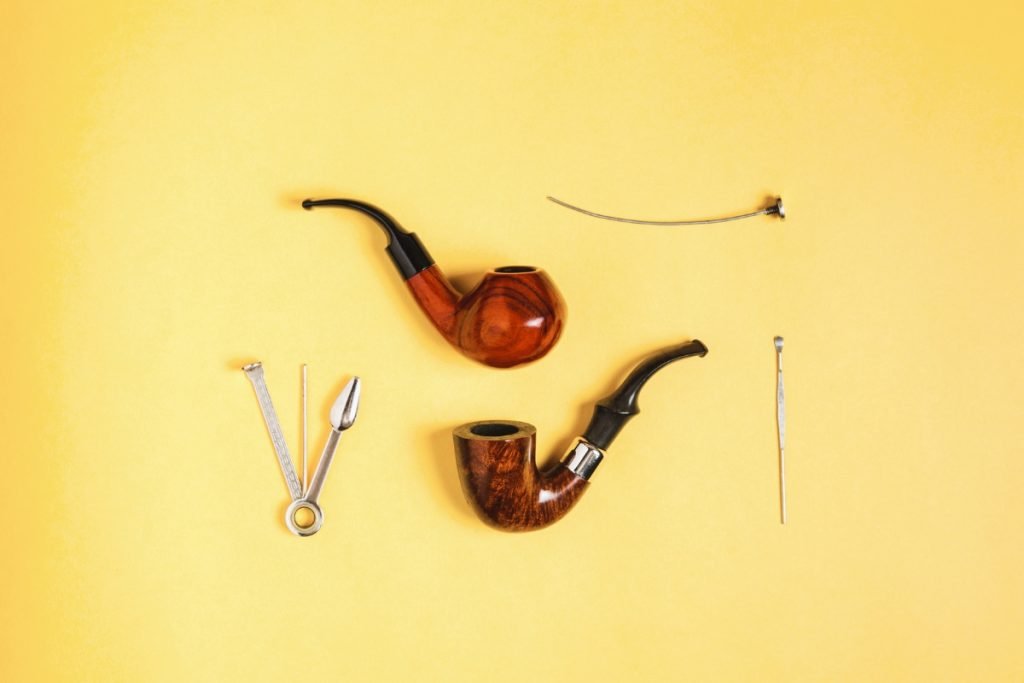
Cleaning and maintaining your smoking pipe is essential to getting the best flavor and smoking experience. To begin, you must first gather the necessary supplies for the process. In this section, you’ll learn about all the supplies that you will need for this job.
Pipe cleaners are a must-have as they help you to clean out the narrow and tight spaces on your pipe. They come in a variety of sizes and lengths, so you can easily find one that fits perfectly into the bowl of your pipe.
Cleaning solution is essential for the cleaning process. You can use a mixture of isopropyl alcohol and warm water to create a cleaning solution. Soak all the components of your pipe in this solution, and use a pipe cleaner to scrub all the residue off the pipe.
You will also need a few pipe tools such as a pipe tamper, a poker, and a brush. These tools will help you to reach into the tighter places on your pipe and can be used in combination with the pipe cleaners to give your pipe a thorough cleaning.
Finally, you will need a pipe reamer. This tool is used to scrape the sticky residue off the inner walls of your pipe. It is a great tool to have and makes the cleaning process much easier.
Now that you know what supplies you need to clean your pipe, you are ready to move onto the next step in the process.
Step Two: Disassemble Your Pipe
Once you have gathered the necessary materials for your pipe cleaning session, it’s time to take your pipe apart. This step is crucial for a thorough cleaning process.
Begin by taking the stem of the pipe off so that you have access to the shank, the airway, and then the bowl of the pipe. Make sure to take your time while disassembling your pipe, and be mindful of the parts as you take them apart.
Make sure to set the stem and other parts aside as you work in an organized and safe manner. To separate the stem from the shank, give it a twist to the right and then to the left. This should loosen the stem from the shank.
To remove the airway, use a pipe cleaner and twist it a few times within the airway while holding the pipe upside down. This should help to dislodge the airway from the shank and bowl of the pipe.
Once you’ve got the airway and stem off, it’s time to remove the bowl from the shank with a light twist to the right and then to the left. This will loosen the bowl from the shank, allowing you to take it off. Now that the pipe is disassembled, you can begin the cleaning process.
Take your time and be mindful of the parts as you disassemble and reassemble your pipe. Following these simple steps can help you to clean your pipe with ease and maintain its longevity.
Step Three: Thoroughly Clean Each Piece
Once you have disassembled all the pieces of your pipe and given it a good scrub down, it’s time to move onto the third step: thoroughly cleaning each piece. The key here is to be thorough and clean any residue that has built up on your pipe. Here are a few tips for cleaning each piece of the pipe:
- Use a small brush to scrub and scrub around the edges of each piece. This will remove any debris, dirt, and any buildup that has occurred over time.
- If there are any tough spots that are hard to reach, use a cotton swab to get into those areas and clean them as well.
- Use a soft cloth to wipe down each piece after it has been scrubbed and cleaned. This will help to remove any dirt or grime that has been left behind.
- Once the pieces are completely dry, you can use a mild detergent to give the pipe a final cleanse. This will help to remove any remaining residue and ensure that the pipe is ready for use. It is important to take your time while cleaning the pipe, as this will ensure that it is clean and safe to use. It is also important to ensure that all the pieces are completely dry before you put it back together. This will help to prevent any rust or corrosion from occurring on the pipe.
Step Four: Reassemble the Pipe
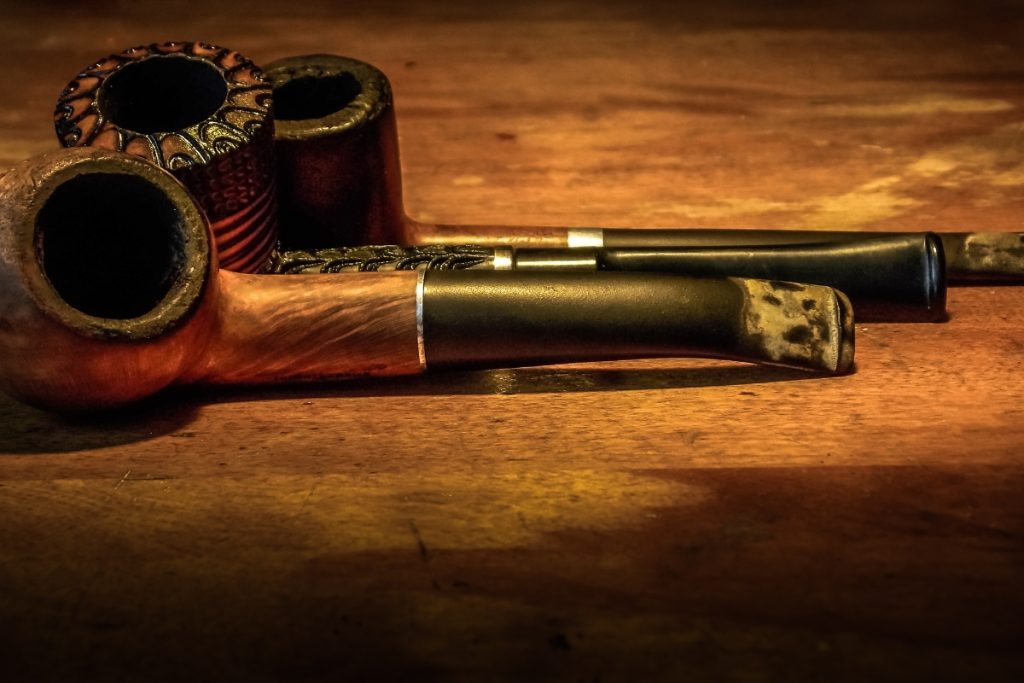
Once all the components are thoroughly cleaned and dried, it’s time to reassemble your smoking pipe. This step can be tricky if you’ve never done it before. The most important part of reassembling a smoking pipe is making sure the parts fit securely together and don’t come apart when used.
The first step to reassembling your pipe is to locate the bowl and the shank. Start by lightly tapping the shank into the bowl until the shank is snugly fit. It’s important to make sure the shank is secured into the bowl before you proceed with the reassembly process.
Once the shank is in place, you can then attach the stem to the shank. Depending on the type of smoking pipe you have, this could either be done by simply pushing the stem into the shank or by using a specialized tool that is designed to secure the stem to the shank.
Once the stem is securely attached to the shank, you can then attach the bowl to the stem. This can be done in a few different ways depending on the type of pipe you have.
You may need to use a specialized tool to help secure the bowl to the stem. Once the bowl is attached to the stem, you can test to make sure the fit is secure. You can do this by pushing on the bowl to make sure it is firmly attached to the stem.
The final step to reassembling your pipe is to attach the airway and airhole. This can be done by drilling a hole through the stem and then using a specialized tool to attach the airway and airhole. Once the airway and airhole are attached, you should test to make sure the airhole is clear and that the airway is not leaking.
Reassembling your smoking pipe can be tricky, but with some patience and practice, it can be done with ease. If you follow the steps outlined above, you should have no trouble reassembling your pipe and having an enjoyable smoking experience.
Step Five: Enjoy Your Clean Pipe
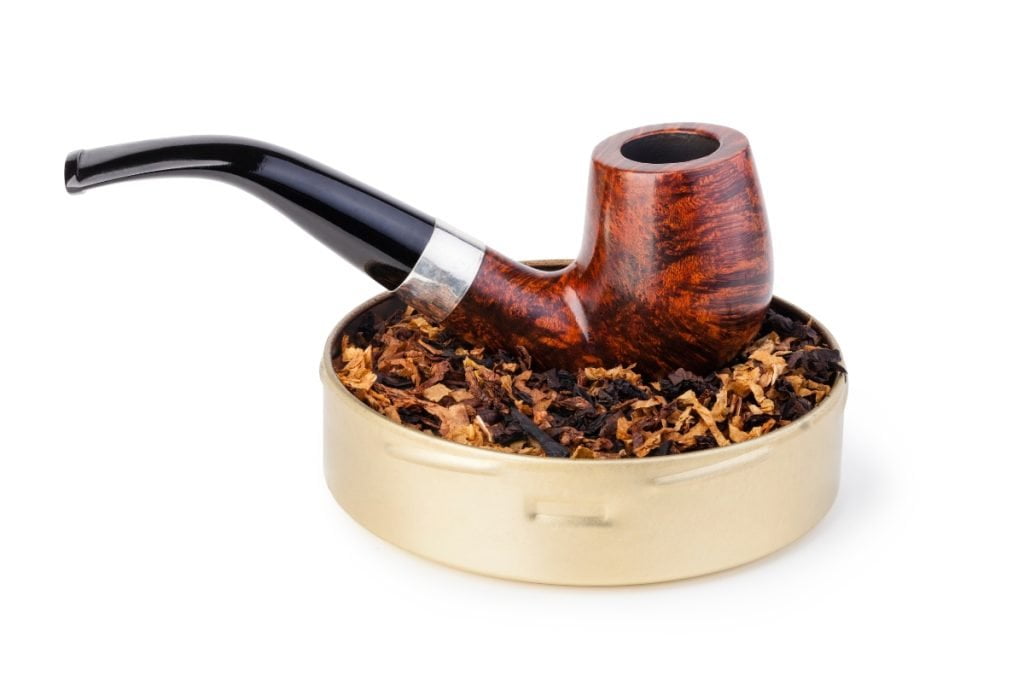
When you’re finished, you should have a sparkling clean pipe that’s ready to use. Make sure to burn off any remaining residue in the bowl before using your clean pipe to smoke. This will ensure that you don’t get any unpleasant tastes or smells when you’re enjoying your pipe.
Cleaning a pipe might seem like a daunting task at first, but with the right tools and a few steps, it can quickly become a simple process. Now that you know how to clean a pipe, it’s time to enjoy it! Put on some music, fill up the bowl, light it up, and enjoy the taste of your fresh, clean pipe.
Conclusion
Cleaning a pipe doesn’t have to be a difficult task. With the right supplies and a few simple steps, anyone can learn how to clean a pipe, and their smoking experience will be greatly improved for it.
For all of your pipe and pipe accessory needs, Mr. G’s Cigar & Pipe Shop is here for you. Our shop carries a wide selection of pipes and related accessories to help our customers make the most out of their pipe-smoking experience. Feel free to browse through our online shop to see what we have, or feel free to call us at (678) 494-6619 if you have any questions about our products.


